So my finally the bits from Honda turned up..
They include the following:
Part No - 15154-MAT-000 GASKET, OIL STRAINER
Part No - 15433-MFJ-D01 RING, SEAL (two required)
Part No - 90231-MS2-610 NUT, LOCK (25MM)
I'm not sure the seals were 100% needed, the Haynes manual said they should be replaced on refitting.
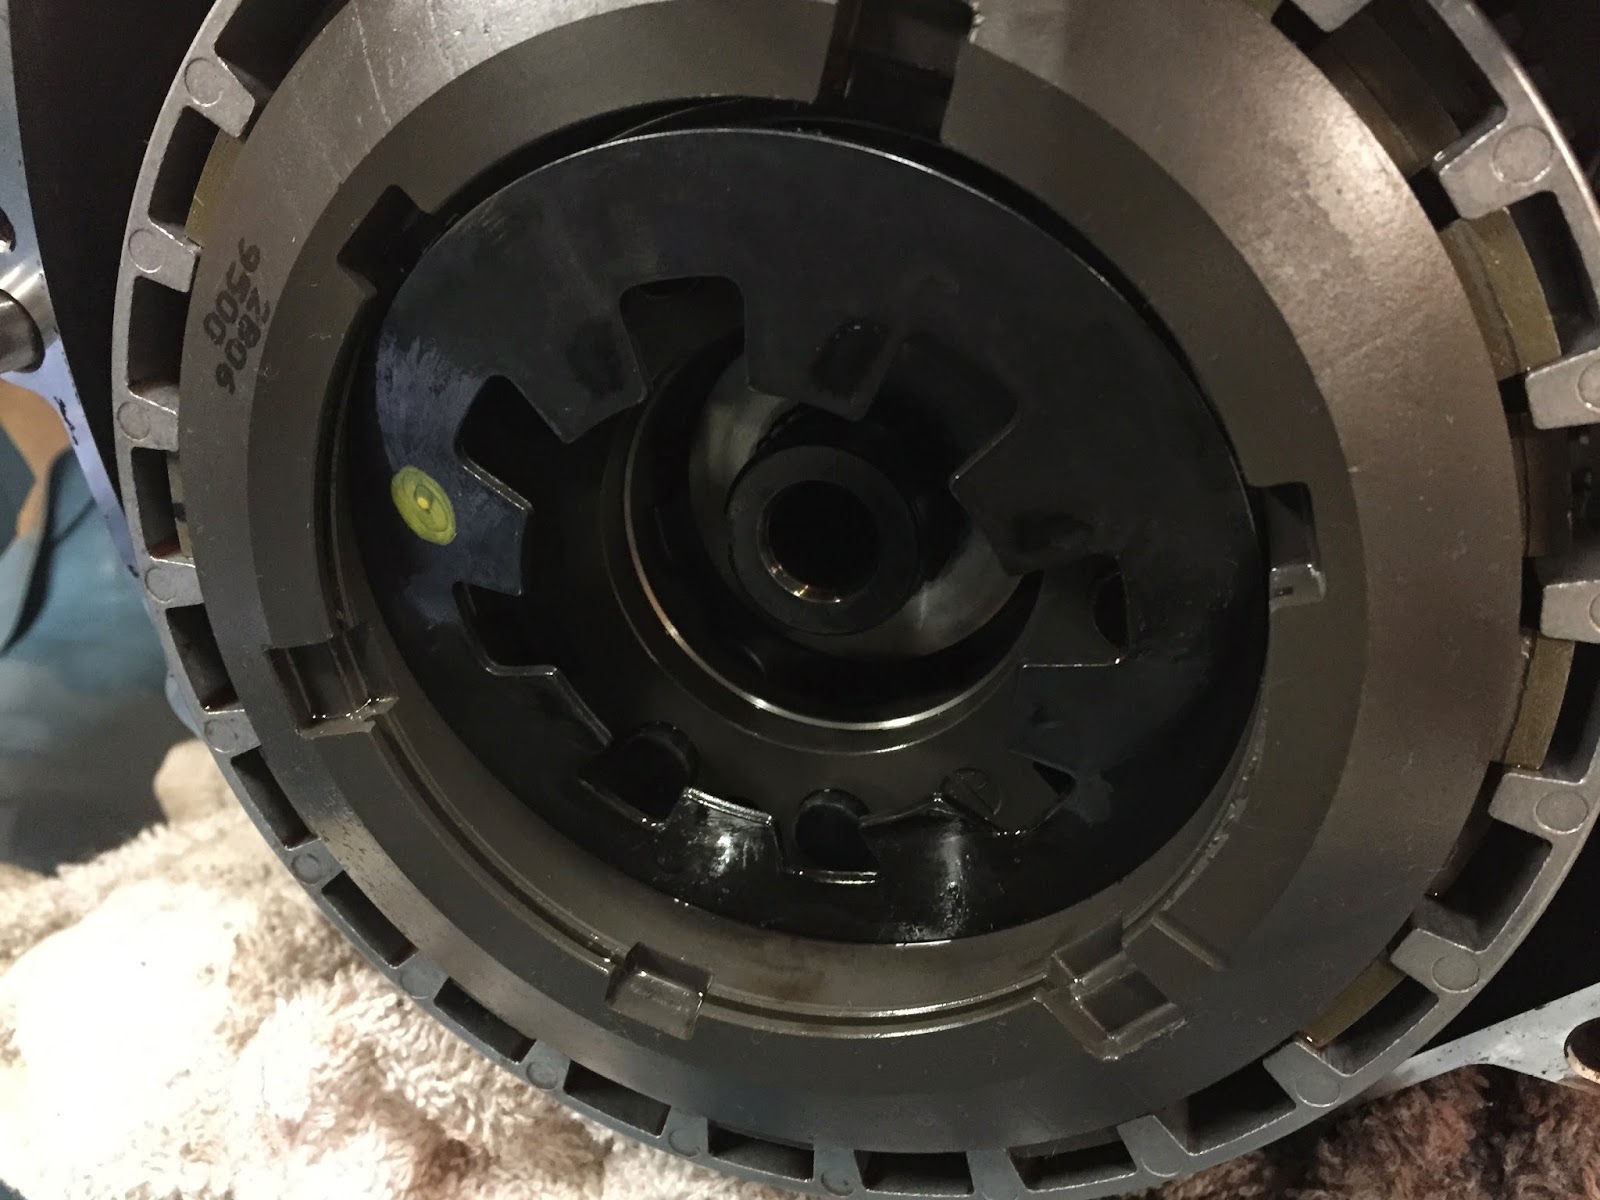
The Clutch locking nut I had to change as its stamped to hold it in place.
Clutch Locking Nut
Oil Strainer Seal
Oil pipe ring seals
The heavy duty clutch turned up from AB Performance.
The heavy duty version replaces two of the standard clutch springs.
New clutch spring in place.
New lock tight nut fitted and torque up to 128Nm, plus I staked the nut with a punch.
All Back together.
Time to clear the old liquid sealant off the cover and engine case, Gunk seemed to get it off really well.
Now time to add the new liquid gasket, first time I have done this to an engine so wasn't too sure how much was needed.
The Haynes manual recommends you apply the sealant to the cover and two to the engine side where the two cases meet at the join.
Clutch cover in place, that was a complete bitch and actually the second time I fitted it. The first time I didn't think I had the clutch lever in place so I had take the cover off again, removing all the sealant, cleaning it up again and trying again only to find it was fitted correctly the first time.. Second time I used far less sealant as it went everywhere the first time I did it. You live and learn!
Time to on the billet sump. I have run through a trial fitting before but I wanted to do it again just to make sure I was happy.
Now ready to fit it for real.
All oil removed with Gunk degreaser, the three oil seals removed.
New strainer seal ready to go in, I oiled this first and then fitted the AB Performance strainer. I knew roughly where it needed to be located as it has to sit in the right position for the sump to fit in place correctly.
Oil pump and new seals fitted and oiled up ready to go in.
Engine side of sealed with liquid gasket.
Baffle plate in position, I used a couple of bolts to hold it in position while I fitted the oil pipe.
Sorry forgot to take a picture of the sump covered in sealant, all fitted and torqued up. I spoke to AB performance and they recommended tighten them all to 10Nm and then 12Nm.
Before Tightening I made sure it was in the right position and that the lower section would fit properly.
The lower section fitted, again torqued up to 10Nm and then 12Nm. I left the excess sealant as I it goes everywhere when you try and clear it up, might cut it off at a later date.
The tape was fitted to stop me scratching the bottom once I start moving it around.
The engine pretty much ready to go.. All AB Performance parts fitted.
Still need to fit buy plugs and fill it with oil.
I will probably get some sort of flush to go through it first before fitting with oil.