Showing posts with label Brakes. Show all posts

Thursday, 14 January 2016

First trip out..


The plates have been on for 2 days now and I was getting itchy feet so had to take out for a spin. 

Its super cold out.. about 2-3 degrees.  Took it round the block a couple of times then went out onto the open road.  

Did about 4-5 miles when I could really start to smell hot brakes. I'd replaced the front brake pads to the fast road pads. They were binding a little in the garage but thought  they would bed in, I was wrong, they were getting super hot! 

The next junction, I could hardly pull out as the brakes were so hard on. I pulled over straight away and the brakes were super hot, locked on!  


The brakes had got so hot it melted the rubber caps on the nuts..


Mini plate installed. Looks so much better! 


Sunday, 8 November 2015

IVA List getting smaller..

Really cracked on this weekend and pretty much got the list sorted.

Sorry been crap at taking pictures recently, i've just been cracking on to get things complete so I can book my retest asap.


01 - NOISE 

RS5: The stationary noise must have a measured sound level not exceeding 99dbA.

Additional Information: OVER 103dBa RECORDED. 02B - METERED EMISSIONS

RS4: The emission limits must be met as prescribed in the flow charts in the IVA M1 Manual Section 02B for CAT1 or CAT 2 Additional Information: EMISSIONS LIMITS NOT MET.(see printout)

Well i've done the best I can. everything the exhaust side has deadening material on it. Any rattle or anything potentially going to rattle has foam or rubber on it. 


05 - STEERING EFFORT

RS8: When the vehicle is driven at speeds above 10mph, there must be a degree of steering “self centring” evident.

Additional Information: NO SELF CENTERING WHEN DRIVEN.

The steering was stiff, I think this might have something to do with the car not self centering. I've played around with the column and its now much easier to steer.. With the wheels off the ground I can move the wheel with one finger. 


09B - SERVICE BRAKE CONTROL / MECHANICAL COMPONENTS

RS26: It must not be possible to manually adjust braking rates between axles
Additional Information: BIAS BAR ADJUSTMENT MUST BE LOCKED WITH EITHER LOCKWIRE OR ROLL PINS.

Bias bar now locked out with split pins..  Not sure split pins are going to be suitable for IVA. mIght have to get some roll pins. 


09D - HYDRAULIC AND VACUUM SYSTEMS

RS10: A brake pipe or hose must have suitable joint fittings

Additional Information: NO PTFE TAPE TO BE USED ON HYDRAULIC BRAKE HOSE TO CALIPER FITTINGS. 

PTFE tape has been removed and adapters refitted. Still need to bleed the brakes. 

09E - BRAKE PERFORMANCE

RS16: The parking brake performance must be a minimum of 18% Additional Information: ONLY 10% ACHIEVED.

Handbrake removed and refitted.. I've taken all the slack out and now I get max performance on 3-4 clicks.  Fingers crossed this will be strong enough, going to get it check at the garage before IVA. 

12 - INTERIOR FITTINGS

RS1: Interior design features and fittings in the “specified zone” which are contactable with a 165mm sphere in a forward direction must have a radius of curvature of 2.5mm or greater, except where a projection from a panel is less than 3.2mm where the edges must be at least blunted

Additional Information: -BOLT HEADS ON NEARSIDE TUNNEL AND ABOVE BATTERY. -TOP EDGE OF GEARSHIFT MECHANISM BEHIND STEERING WHEEL.

Caps on the bolts in the passenger footwall and covered the top of the paddleshift with some edging. 

14 - PROTECTIVE STEERING

RS3: The steering control and column assembly must provide adequate protection to the driver by absorbing energy from a driver- steering wheel impact. This is the case if the steering control has an approval (evidence may be markings or documents), or is similar to an approved steering control.

Additional Information: NO DRIVER/ WHEEL ENERGY ABSORBING DEVICE FITTED.

Still waiting for my collapsible boss to turn up, Been told tomorrow so hopefully investigate getting this fitted tomorrow.  

16 - EXTERIOR PROJECTIONS

RS2: All ‘hard’ parts contactable with a 100mm sphere, which form an external surface or protrude 5mm or more from the external surface must have a radius of curvature of at least 2.5mm

Additional Information: HEADLAMP BRACKET EDGES.

Used amalgamating tape, as suggested by the IVA tester.

RS29: An exhaust tailpipe must not project beyond the floor line lying directly above it by more than 10mm, unless it terminates in a radius of curvature of at least 2.5mm and in all cases project no more than 150mm. In the case of side mounted exhausts the tailpipe must terminate no more than 50mm from the extreme outer edge of the vehicle.

Additional Information: EXHAUST TAILPIPE CANNOT PROJECT MORE THAN 50MM PAST REAR WHEEL ARCH WIDEST POINT.

I extended the original MNR exhaust hanger with some steel.. After messing around with the exhaust I managed to just drill another hole in the silencer hanger which pulled the exhaust in so I was well within the 50mm limit. 


18 - STATUTORY PLATES

RS1: The vehicle must be fitted with a manufacturer’s plate, in a conspicuous and readily accessible position.

Additional Information: MANUFACTURERS PLATE MISSING. AS A MINIMUM IT MUST HAVE,

MANUFACTURERS NAME VIN NUMBER

I emailed the IVA tester to confirm that they would accept the following and they would. I stamped the rest of the VIN on and riveted this to the top bulk head panel. 


23 - DIRECTION INDICATORS

RS6b: Directional indicators must be positioned to meet the angles of visibility requirements as detailed in the table in Section 23 of the IVA M1 inspection Manual

Additional Information: SIDE REPEATERS NOT POSITIONED TO MEET REARWARD 5 DEGREE ANGLE OF VISABILITY. NOTE, SIDE REPEATERS MUST BE FITTED WITHIN 2600MM OF THE VERY FRONT EDGE OF THE VEHICLE.

The side indicators are fitted and working.  Can be clearly seen from the rear. 

25 - HEADLAMPS

RS11: For European type headlamps with centres not more than 850mm from the ground, the beam image horizontal cut-off must be between the horizontal 0.5% and 2% lines, i.e. the red tolerance band.

Additional Information: UNABLE TO ASSESS, AS BOTH HEADLAMPS HAVE NO BEAM PATTERN. 

Don't know what I had done to the lights. After some investigation I had just wired the dipped and high beam the wrong way round.

The below picture shows the right headlight now correct. Showing dripped headlight.


Right showing high beam.


Both headlights now showing a good dripped pattern.


Good high bream.. The right headlight looks a little high.


28 - REAR FOG LAMPS

RS4: The rear fog lamp(s) must only illuminate when dipped beam, main beam or front fog lamps are lit
Additional Information: REAR FOG LAMP MUST ONLY WORK WITH DIP AND MAIN BEAM. NOT SIDE LAMPS

The standard loom I received allows you to turn on fogs from side lights. I just rewired this at the fuse and it sorted the problem. 

33 - IDENTIFICATION OF CONTROLS

RS1: Where provided, identification of controls must be clear so not to cause confusion

Additional Information: DIP AND MAIN BEAM SWITCH PICTOGRAMMES ARE AROUND WRONG WAY.

Should have seen this was wrong.. The digidash symbol shows the high beam, which I should have copied but didn't.  Now correct.


Will try and get an appointment at my local garage to get the emissions, handbrake, and steering tested.

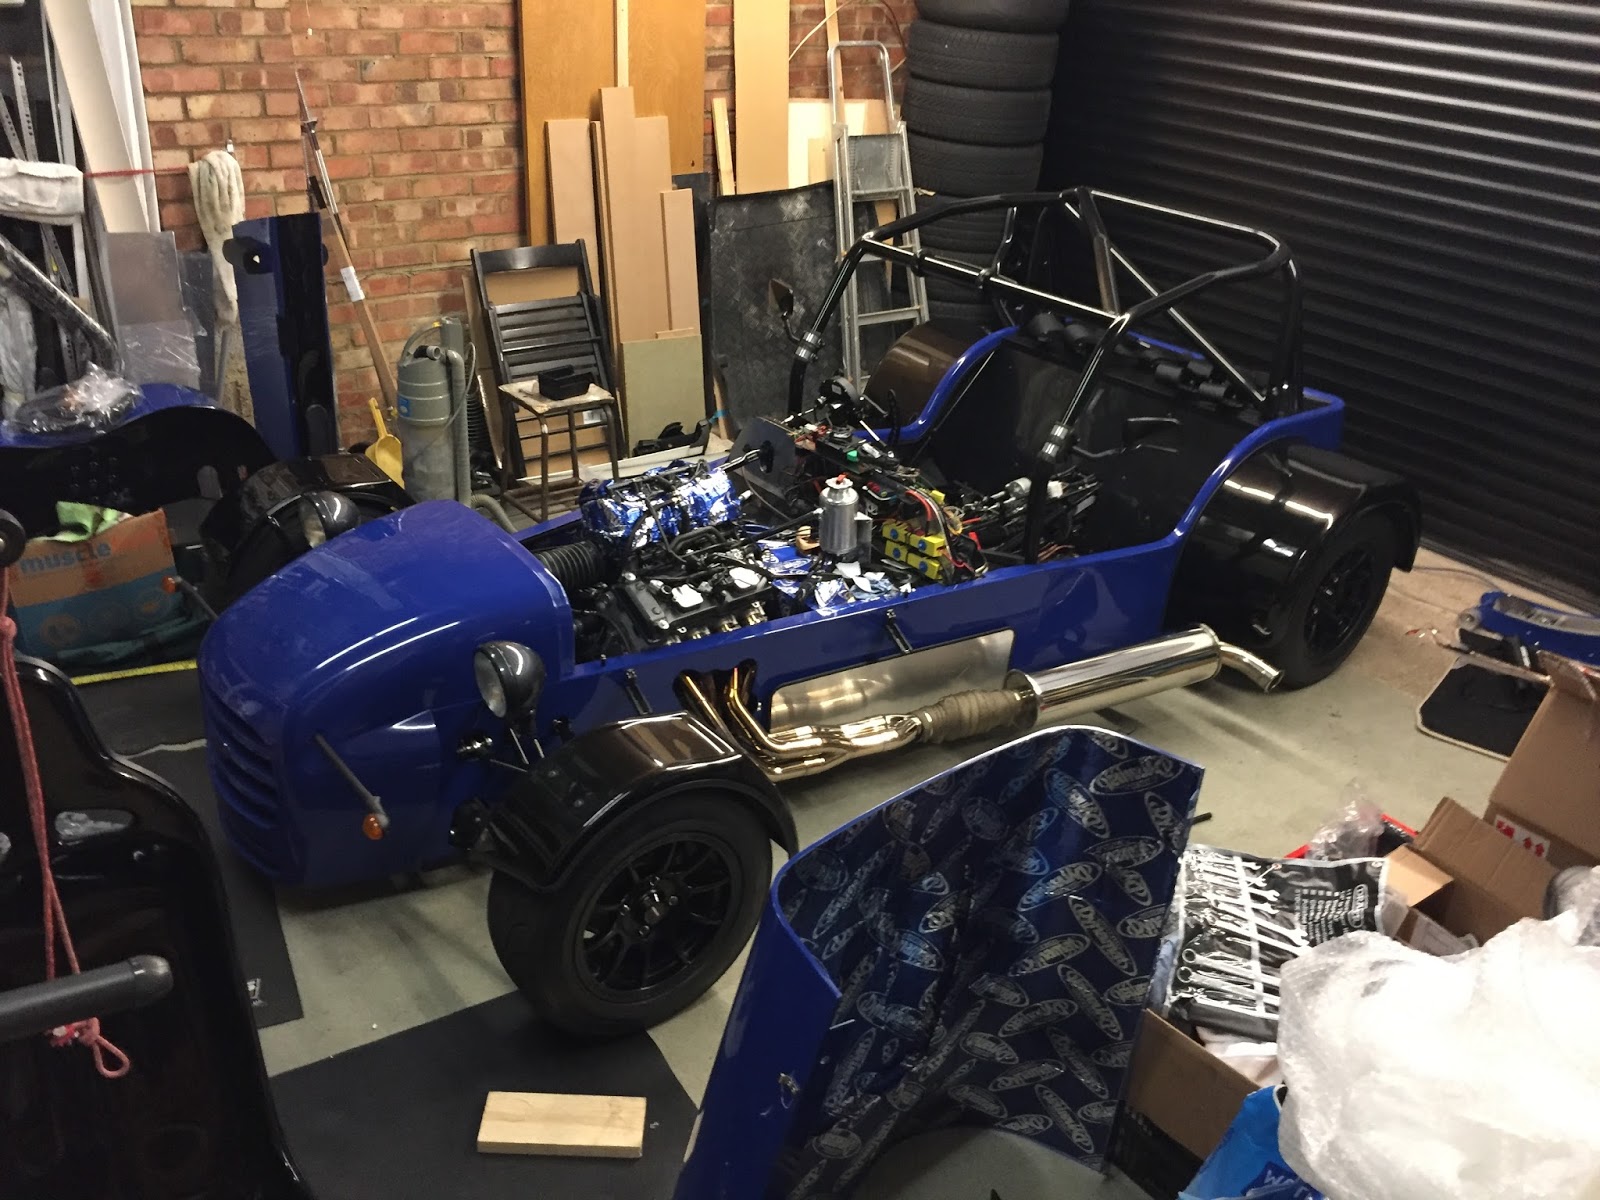
One picture... Of the mess I am working in!!   The weather has been terrible. I need to move the car out so I can tidy the garage. 


Sunday, 1 November 2015

More IVA bits sorted.


Up early to crack on my IVA list.. 

First was to remove the PTFE tape from the adapters going into the calipers. I used loctite 577 to seal the adapters as this is suitable for brake fluid. 

Rear one finished and nipped up.


Here's the front one with the PTFE tape installed. Both my drivers side adapters front and rear were fine and didn't require PTFE tape to get a seal so these won't require doing.


Tape removed.


Inserted into the caliper with the 577 sealant.


Next onto the balance bar, I pre drilled a nut to make it easier once on.


First bolt was easy to sort and drill the bar. 


Second one was a bitch.. first off I couldn't get the nut off easy as and I kept braking drill bits.


Holes drilled and pipped up!


On to the hand break.. The car looks sad.. No scuttle, no seats, not tunnel.


I think where I have had the handbrake so high its been bending the handbrake mounts.


I now have the handbrake working to max in 3/4 clicks.  Hopefully this will give me 18% efficiency.

Feels really strange taking the car part to this level considering i've spent the past few months putting it together.


Saturday, 24 October 2015

Late IVA Jobs..


Rob (Green MNR) popped over to have a good look over the car.

First issue my brake hose connecting the cylinders to brake reservoir are not brake fluid suitable, these will need replacing with suitable hose.


You can actually see the fluid is sweating through the hose.


Also I had a nut where the nyloc wasn't great as the nylon had pushed out the nut.


Ordered some correct hose from CBS..  Here 

Made a start and drained the brake fluid.


The new hoses show the make and details that CBS supply a data sheet showing they are compliant.


All fitted..

Still don't like this solution and will replace after IVA.


 I replaced the nyloc on the rear suspension.


Saturday, 12 September 2015

Pre MOT


Been a little nervous about this day coming round..  Pre MOT was booked for 11:30 at my local MOT test centre. We've used the garage a few times for MOT's and servicing. They are a friendly bunch and when I mentioned the MOT on a kit car, they said pre MOT to check everything was ok before going to see VOSA. So nice not to explain what I needed and what I was doing.

From the MOT, I firstly wanted to make sure the car was safe, brakes worked etc and that nothing was going to fall off.  Also wanted to test the emissions, brake balance, handbrake strength, headlight setup and get the alignment/tracking sorted.

Woke up early to the sound of rain, after an hour or so the Sun was trying to break through the clouds.


Getting close to going it looked like it was going to turn out to be a nice day. Roads were still very wet but at least it had stopped raining.


All set...  Tank full,  everything as ready as I could get it.  MOT was at 11:30, the direct route to the garage would take 15 minutes but I wasn't going to go through our town so I went a different quieter route.  We decided to leave 1 hour before incase we had any problems. The misses followed me behind in her car.


Decided to wear my new race shoes Didn't want my feet getting caught up in the pedals. 


Here we go....


I made it!!!   JUST!!!   The drive to the MOT test centre was terrifying.. It was only 11 miles. The front alignment was so far out, I think I had far to much toe in.  Ever small amount of input and road camber change and it would go darting off but apart from that no other issues, well apart from speedo miles out and oil pressure warning but I think this was down to digidash setup.

It got really dirty on the wet roads!

Arrived at just after 11am.


Up on the ramps in the test bay...


I plugged the laptop in while the emissions were being tested..  Increased the throttle up to 2500RPM, I was well within the limited which I was pleased about as I had no O2 sensor and no pair control value.


Jacked up to test all the joints for wobbles.


Moved over to the another unit to test the brakes and alignment.

The brake were fine, very even braking between sides and very strong. A pass here.

The handbrake pressure was low but apparently enough to get it through an MOT.


The rear end.. A little out so a bit of adjustment needed it.


The front end.. The toe in again was well out and needed adjusting.


Yuck!


All done, sounds like it would have got a pass if it went through a proper MOT. Maybe and advisory for the rear drivers wobble and steering top knuckle a little play.

Finished at 14:30 ish.. with a £79 bill to pay.. Complete bargain. Will 100% be going back to get the alignment finalised after a shake down.

Would 100% recommend PRC Near Farnham.   Here's the link - PRC Website

Time to drive it home, hopefully this will be less terrifying..


Straight away I could feel the tracking/alignment was much better. It felt like a proper car and pointed where I wanted it to go. 

Managed to give it a bit of a blast, not flat out but enough to get a feel of what it could do. I was a getting a little cocky and pulled out of a junction and gunned it.. All of a sudden I had no power, and the throttle pedal went very very light.. Something wasn't right. Bugger, had I snapped the throttle cable. 

Luckily I just managed to free wheel into a layby..  With the bonnet off and head into the tunnel it was clear as to what had happened. The split pin had come out of the pin holding the clevis in place so the cable was no longer attached to the pedal. 

So pleased the misses was with me, she had a hair clip that I nicked, upside down in the drives footwell I was able to fix it.


Steady the rest of the way home and I made it safe back in the garage.

Now with it complete dirty and in need of a clean..