A few people kept telling how easy it was to do my own wheel alignment. What the garage had set the car up as was not self centering and my IVA was tomorrow so I had to try and least get some sort of centering.
I measured the threads on each track rods so I could go back to what it was just incase I messed things up.
Then jumped on youtube and watched a few videos on how people perform the home alignment.
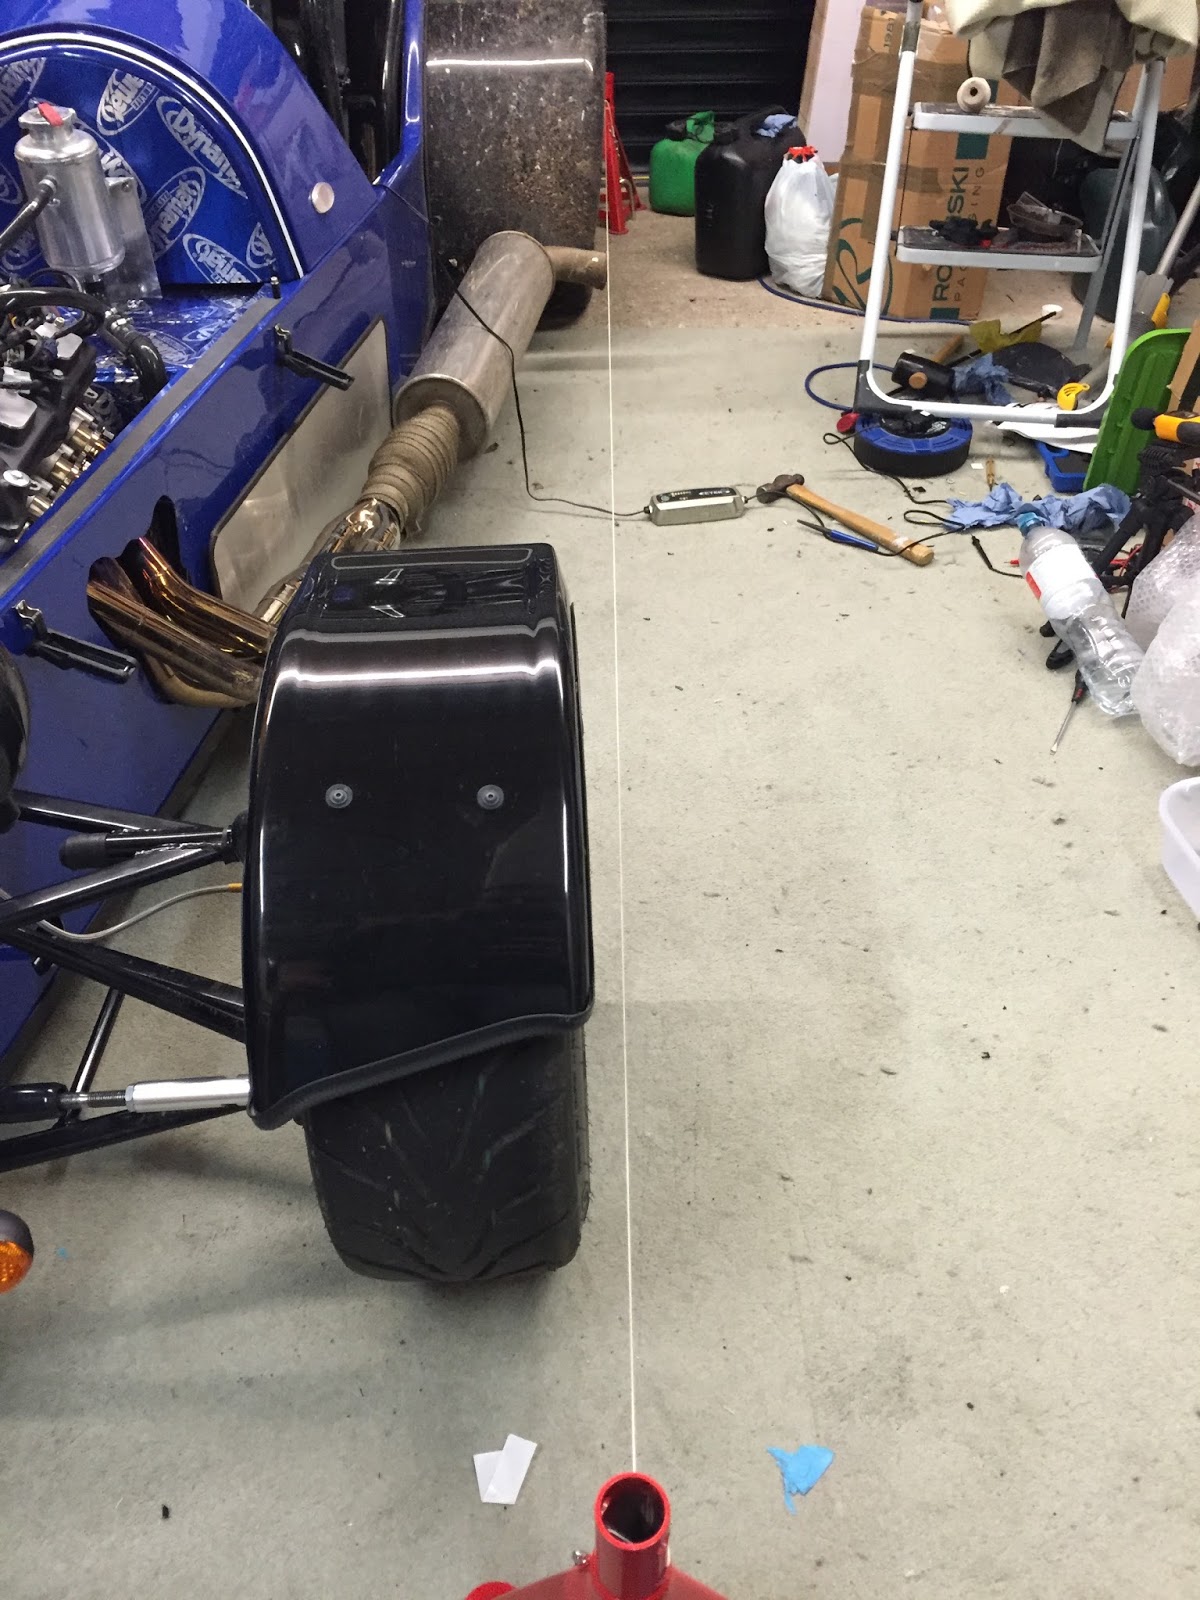
The theory is to run two guide lines down the sides of the car. You then make sure these are equal distances from the hub of each axle. You then measure the distance between the edge of the wheel to the line and this will well you if the wheel is toe in or two out.
So I had a little bit of toe in at the rears and a bit more at the fronts.
It had been recommended just for the IVA test to pump the tyres up to an extreme level, this reduces the contact patch with the road and makes the car easier to self center. The other area to help was to run extreme toe out.. Some forum posts suggest 3-4 degrees.
I had a good play around messing around with extreme toe out and the car did show signs of self centering. I was a little concerned about how the car would drive on the road as I had a 30 mile trip each way to the test centre. The first time I drive the car it was so scary driving it with extreme toe in.
I stumbled across the below website and its brilliant. Will be using it again for sure. You must run two parallel draw lines down the side of the car. These MUST be parallel to each other. They do not have to be parallel to the car as the calculations work this out.
Here are my final results.. This is as close as I could get the front wheels to being aligned in the time I had available.
For reference Cell K needs to be 2350mm and Cell I and J need to be 360mm if you are running 13" wheels. Never knew but if you measure the outer edge of a wheel rim this is bigger than the side its sold in, so mine are 13" wheels but the outer edge is large. For this calculator you need to use the outer edge.
At just over 2 degrees toe out on each side, I was a getting a little self centering. With more room and space I think we should see a good amount of self centering.
Marc sent me the below below degree to MM conversion table, this was a great help.
Well driving the car home from the garage with them setting up the alignment up at 1 degree toe in the car is still not self centering. Gave the car a good push around the garage but its not making any attempt at self centering at all. The IVA says it should show an effort of going back to center.
A post on the owners club suggested I might have the lower wish bones on the wrong side. They are offset to bring the lower side of the uprights forward to give positive caster. Positive caster helps with self centering.
I ended up measuring the arms on the wishbones and mine were the correct way round.
The below book had some helpful info..
Here you can see the positive caster, the lower wishbone is infront of the top wishbone. Not masses but its still positive..
Wet and cold i've learnt today don't mix well with kit cars.. It results in wet bums, wet arms, pretty much wet everything. Still enjoyed the drive there apart from getting soaked. The rear end lights up really easy, took it steady.
Drove to the garage to get the emissions, handbrake and to look at the self centering issue if it was one.
Well straight away on the drive there the car still wasn't self centering at all. I thought this was to do with the stiff column but it must be setup but it can't be that as its now moving freely. On the previous alignment check we set it up with 1 degree toe in and 1 degree negative camber on the front end.
Dropped Marc a text to enquire what else could be done, apparently each wheel (Front and rear) should be 1mm Toe and 1.5 to 2 degrees negative camber. To confirm thats each corner front and rear. First time suspension was setup we did not do this.
I am alot closer on the emissions, didn't get any readings as it was a real rush and their machine started to melt so they had to end the test early. At one point I had all green results so nearly there.
Handbrake fine, 18-19%. So just strong enough. Brakes were super cold also.
Noise.. lets not go there.. Its going to be a problem!
I am booked in again this week, garage have allocated me a couple of hours. Should get it all done in time ready for retest on Monday.
Been a little nervous about this day coming round.. Pre MOT was booked for 11:30 at my local MOT test centre. We've used the garage a few times for MOT's and servicing. They are a friendly bunch and when I mentioned the MOT on a kit car, they said pre MOT to check everything was ok before going to see VOSA. So nice not to explain what I needed and what I was doing.
From the MOT, I firstly wanted to make sure the car was safe, brakes worked etc and that nothing was going to fall off. Also wanted to test the emissions, brake balance, handbrake strength, headlight setup and get the alignment/tracking sorted.
Woke up early to the sound of rain, after an hour or so the Sun was trying to break through the clouds.
Getting close to going it looked like it was going to turn out to be a nice day. Roads were still very wet but at least it had stopped raining.
All set... Tank full, everything as ready as I could get it. MOT was at 11:30, the direct route to the garage would take 15 minutes but I wasn't going to go through our town so I went a different quieter route. We decided to leave 1 hour before incase we had any problems. The misses followed me behind in her car.
Decided to wear my new race shoes Didn't want my feet getting caught up in the pedals.
Here we go....
I made it!!! JUST!!! The drive to the MOT test centre was terrifying.. It was only 11 miles. The front alignment was so far out, I think I had far to much toe in. Ever small amount of input and road camber change and it would go darting off but apart from that no other issues, well apart from speedo miles out and oil pressure warning but I think this was down to digidash setup.
It got really dirty on the wet roads!
Arrived at just after 11am.
Up on the ramps in the test bay...
I plugged the laptop in while the emissions were being tested.. Increased the throttle up to 2500RPM, I was well within the limited which I was pleased about as I had no O2 sensor and no pair control value.
Jacked up to test all the joints for wobbles.
Moved over to the another unit to test the brakes and alignment.
The brake were fine, very even braking between sides and very strong. A pass here.
The handbrake pressure was low but apparently enough to get it through an MOT.
The rear end.. A little out so a bit of adjustment needed it.
The front end.. The toe in again was well out and needed adjusting.
Yuck!
All done, sounds like it would have got a pass if it went through a proper MOT. Maybe and advisory for the rear drivers wobble and steering top knuckle a little play.
Finished at 14:30 ish.. with a £79 bill to pay.. Complete bargain. Will 100% be going back to get the alignment finalised after a shake down.
Would 100% recommend PRC Near Farnham. Here's the link - PRC Website
Time to drive it home, hopefully this will be less terrifying..
Straight away I could feel the tracking/alignment was much better. It felt like a proper car and pointed where I wanted it to go.
Managed to give it a bit of a blast, not flat out but enough to get a feel of what it could do. I was a getting a little cocky and pulled out of a junction and gunned it.. All of a sudden I had no power, and the throttle pedal went very very light.. Something wasn't right. Bugger, had I snapped the throttle cable.
Luckily I just managed to free wheel into a layby.. With the bonnet off and head into the tunnel it was clear as to what had happened. The split pin had come out of the pin holding the clevis in place so the cable was no longer attached to the pedal.
So pleased the misses was with me, she had a hair clip that I nicked, upside down in the drives footwell I was able to fix it.
Steady the rest of the way home and I made it safe back in the garage.
Now with it complete dirty and in need of a clean..